OAuth Integration Guide
Learn how to connect your application to MakeMeSafe OAuth provider endpoints.
1. How OAuth Connection Works
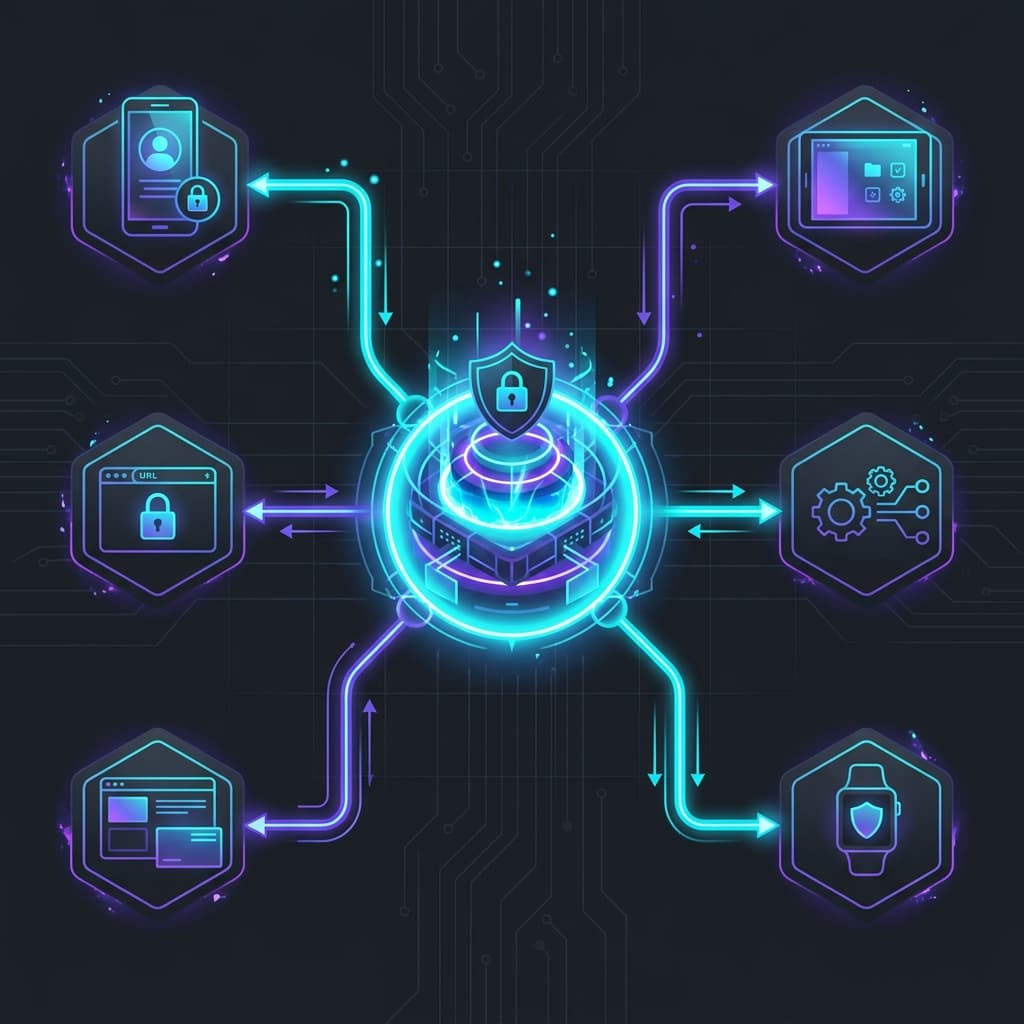
Create Application
Register your application in the MakeMeSafe dashboard to receive your Client ID and Client Secret.
Redirect User to Authorize
Send users to /api/oauth/authorize?client_id=YOUR_ID with response_type=code and redirect_uri (must be registered). We recommend state and code_challenge (PKCE).
Exchange Token
Your server exchanges the authorization code for an access token to retrieve user details.
2. Code Implementation Reference
// app/api/auth/login/route.ts — start the OAuth flow
import { cookies } from "next/headers";
import { redirect } from "next/navigation";
import crypto from "crypto";

const BASE = "https://makemesafe.antqr.xyz";
const CLIENT_ID = process.env.MAKEMESAFE_CLIENT_ID!;
const REDIRECT_URI = process.env.MAKEMESAFE_REDIRECT_URI!;

export async function GET() {
  const state = crypto.randomBytes(16).toString("hex");
  const verifier = crypto.randomBytes(32).toString("base64url");
  const challenge = crypto
    .createHash("sha256").update(verifier).digest("base64url");

  const store = await cookies();
  store.set("oauth_state", state, { httpOnly: true, sameSite: "lax" });
  store.set("oauth_verifier", verifier, { httpOnly: true, sameSite: "lax" });

  const params = new URLSearchParams({
    client_id: CLIENT_ID,
    redirect_uri: REDIRECT_URI,
    response_type: "code",
    state,
    code_challenge: challenge,
    code_challenge_method: "S256",
  });

  redirect(BASE + "/api/oauth/authorize?" + params);
}

// app/api/auth/callback/route.ts — exchange the code
import { cookies } from "next/headers";
import { redirect } from "next/navigation";
import { NextResponse } from "next/server";

const BASE = "https://makemesafe.antqr.xyz";
const CLIENT_ID = process.env.MAKEMESAFE_CLIENT_ID!;
const CLIENT_SECRET = process.env.MAKEMESAFE_CLIENT_SECRET!;
const REDIRECT_URI = process.env.MAKEMESAFE_REDIRECT_URI!;

export async function GET(request: Request) {
  const { searchParams } = new URL(request.url);
  const code = searchParams.get("code");
  const state = searchParams.get("state");
  const store = await cookies();
  const storedState = store.get("oauth_state")?.value;
  const verifier = store.get("oauth_verifier")?.value;

  if (!code || !state || state !== storedState) {
    return NextResponse.json({ error: "invalid_state" }, { status: 400 });
  }

  const tokenRes = await fetch(BASE + "/api/oauth/token", {
    method: "POST",
    headers: { "content-type": "application/x-www-form-urlencoded" },
    body: new URLSearchParams({
      client_id: CLIENT_ID,
      client_secret: CLIENT_SECRET,
      code,
      grant_type: "authorization_code",
      redirect_uri: REDIRECT_URI,
      code_verifier: verifier ?? "",
    }),
  });
  const data = await tokenRes.json();
  if (!tokenRes.ok) {
    return NextResponse.json({ error: "token_exchange_failed" }, { status: 400 });
  }

  // data.user = { id, name, email, avatarUrl, emailVerified }
  redirect("/welcome?name=" + encodeURIComponent(data.user.name));
}
3. API Endpoints Reference
/api/oauth/authorizeRenders the branded sign-in/consent screen and issues a 10-minute, one-time authorization code.
* required — redirect_uri must match a URI registered for the client. Only S256 PKCE is supported.
/api/oauth/tokenExchanges Client ID, Client Secret, and authorization code for an access token (JWT, 1-hour) and the user profile. Accepts application/x-www-form-urlencoded or JSON. If your authorization request included code_challenge (PKCE, S256), you must send the matching code_verifier, and redirect_uri must match the authorization request.
/api/oauth/userinfoVerifies Bearer access token and returns user profile payload.
4. Generate an AI Integration Prompt
Don't write the integration by hand — generate a ready-to-paste prompt for ChatGPT, Claude, Cursor or any AI coding assistant. It includes MakeMeSafe's endpoints, security rules (PKCE, state, secret handling) and your credentials. For the best result, use your app's own Client ID from the dashboard, then open the AI with your project open.
5. How identity works (read this first)
MakeMeSafe is a single sign-in for your whole ecosystem. One user, one account, on every app you connect through MakeMeSafe — the server keeps the source of truth, and your app keeps its own copy of the data it cares about. Here is exactly what that means for you.
One identity, many apps
When a user signs up on your app, a MakeMeSafe account is created (or an existing one is reused). That same account signs them in to every other MakeMeSafe-connected app — including Antqr's own products. No re-registration, no per-app passwords.
You keep your own copy
On first login, store user.idfrom the token response as your app's stable foreign key, plus whatever profile fields you need. Use it as sub in the /api/oauth/userinfo response. Your domain data (posts, settings, permissions) lives in your database.
Scoped & short-lived
Access tokens are signed JWTs scoped to your app, valid for 1 hour. Your app can only read the user's profile ({id, name, email, avatarUrl, emailVerified}). It never sees passwords, phone numbers, or data belonging to other MakeMeSafe apps.
Best practices we recommend
- Key your user table on
user.id / sub— never on name or email. - Treat email as mutable profile data, not a primary key. Re-verify it before sending anything sensitive.
- Show the user's email as verified only after
emailVerifiedis true. - If you see a
401from userinfo, redirect the user through sign-in again — the token expired, it's by design. - Always use PKCE (S256) and validate
stateon the callback.
What MakeMeSafe never exposes to apps
- Password hashes or credentials.
- Phone numbers or any other profile field your app didn't opt into.
- Any user's data from other apps, or their access tokens.
- Anything your app didn't explicitly request on the consent screen.